用網頁製作你的簡報:reveal.js

試著想像一個情境,你是一名工程師,需要跟他人分享你的創意,你希望雙方認知建立在相同的基礎上,當說到「狗」時,聽眾明白你指的是拉不拉多,而不是吉娃娃。投影片是個簡單有效的同步工具,但 Windows 的 PowerPoint 有幾個惱人的問題:
- 僅具備簡單畫面編輯工具
- 版型固定
- 沒有 Quote
- 沒有 Code Section
- 沒有 Syntax Highlight
投影片應該要像攝影機,講者使用它來專注說故事。而 PowerPoint 設計的目標,是讓不具備程式能力的人,也能將畫面放上電腦。它有基礎的視覺設計能力,但並不足以應付進階應用。
reveal.js 是以 HTML 為基礎的簡報框架,藉由 CSS 跟 HTML 分離,講者可以更專注在內容,將設計交由第三方庫來處理。由於本質上是由 HTML、CSS 跟 JavaScript 組成,reveal.js 可以成為網站,只要使用者能上網,就能進行播放。本文會用 reveal.js 來設計簡報,嘗試體驗它的魅力。
需要 Clone 程式碼的,可以到這裡。
Install reveal.js
依照官方說明,reveal.js 有三個安裝方式
We provide three different ways to install reveal.js depending on your use case and technical experience.
The basic setup is the easiest way to get started. No need to set up any build tools.
The full setup gives you access to the build tools needed to make changes to the reveal.js source code. It includes a web server which is required if you want to load external Markdown files (the basic setup paired with your own choice of local web server works too).
If you want to use reveal.js as a dependency in your project, you can install from npm.
JavaScript 是手稿語言,下載檔案等同完成安裝。對普通使用者來說,Basic Setup 已經夠用,習慣使用 Git 的人,也可以 Clone 整個專案,再依照自己的需求修改。
我會建議將 reveal.js 的檔案複製到自己的專案,結構如下
revealjs
├── dist
├── plugin
├── index.html
├── package.json
└── README.md
dist 跟 plugin 是 reveal.js 的資源,可以看成是程式主體,在執行時會引用。index.html 是投影片本體。在 reveal.js 的設計中,使用者只需要修改 index.html,其他的事會由 reveal.js 的庫來處理。
Establish HTTP Server
reveal.js 可以用瀏覽器開啟,但如果想將簡報變成網站,還是需要 http server 來提供服務。我們用 node.js 來建立 server,在專案目錄下新增啟動腳本 index.js
revealjs
├── dist
├── plugin
├── index.html
├── index.js
├── package.json
└── README.md
內容是
const http = require("http");
const url = require("url");
const path = require("path");
const fs = require("fs");

// setting user-defined type
const mimeTypes = {
  html: "text/html",
  jpeg: "image/jpeg",
  jpg: "image/jpg",
  png: "image/png",
  js: "text/javascript",
  css: "text/css",
  mp4: "video/mp4",
  woff: "text/woff",
};

// create http server
var server = http.createServer(function (req, res) {
  var uri = url.parse(req.url).pathname;
  var fileName = path.join(process.cwd(), unescape(uri));
  var stats;

  // check if the file is enter
  try {
    stats = fs.lstatSync(fileName);
  } catch (e) {
    res.writeHead(404, { "Content-type": "text/plain" });
    res.write("404 Not Found!\n");
    res.end();
    return;
  }

  // get the file type to check is html type
  if (stats.isFile()) {
    var mineType = mimeTypes[path.extname(fileName).split(".").reverse()[0]];
    res.writeHead(200, { "Content-type": mineType });
    var fileStream = fs.createReadStream(fileName);
    fileStream.pipe(res);
  } else {
    res.writeHead(500, { "Content-type": "text/plain" });
    res.write("500 Internal Error\n");
    res.end();
  }
});
server.listen(8888);
一行一行看。
簡報檔內可能包含不同的媒體,像是 HTML、CSS、JS,用 mimeTypes 來告知客戶端報文類別
const mimeTypes = {
  html: "text/html",
  jpeg: "image/jpeg",
  jpg: "image/jpg",
  png: "image/png",
  js: "text/javascript",
  css: "text/css",
  mp4: "video/mp4",
  woff: "text/woff",
};
建立 http server,並解析客戶端輸入的 URL,每個 URL 可看成對應到不同的檔案,伺服器收到 URL 的要求後,會將檔案回給客戶端
var server = http.createServer(function (req, res) {
  var uri = url.parse(req.url).pathname;
  var fileName = path.join(process.cwd(), unescape(uri));
  var stats;
如果檔案不在,回覆 404 Not Found
  //check if the file is enter
  try {
    stats = fs.lstatSync(fileName);
  } catch (e) {
    res.writeHead(404, { "Content-type": "text/plain" });
    res.write("404 Not Found!\n");
    res.end();
    return;
  }
如果檔案存在,回覆 200,報文是檔案內容
  //get the file type to check is html type
  if (stats.isFile()) {
    var mineType = mimeTypes[path.extname(fileName).split(".").reverse()[0]];
    res.writeHead(200, { "Content-type": mineType });
    var fileStream = fs.createReadStream(fileName);
    fileStream.pipe(res);
  } else {
    res.writeHead(500, { "Content-type": "text/plain" });
    res.write("500 Internal Error\n");
    res.end();
  }
監聽 Port 8888,用 8888 來提供服務
server.listen(8888);執行
node index.js伺服器就開好了。
First Page and Vertical Slides
有伺服器後,來建立投影片。如前面講的,投影片本體是 index.html,修改它
<body>
    <div class="reveal">
        <div class="slides">
            <section>
                <a href="[https://nodejs.org/en/](https://nodejs.org/en/)">
                    <img src="[.](https://upload.wikimedia.org/wikipedia/commons/d/d9/Node.js_logo.svg).." class="demo-logo" />
                </a>
                <p>reveal.js ...</p>
            </section>
修改處是 body 內的 tag section,每個 tag section 可以當成一頁投影片。在上方程式碼中,section 內加入了一則連結 <a>;一張圖片 <img>;還有一段文字 <p>。
啟動瀏覽器,輸入 hostname:port/index.html,看到投影片
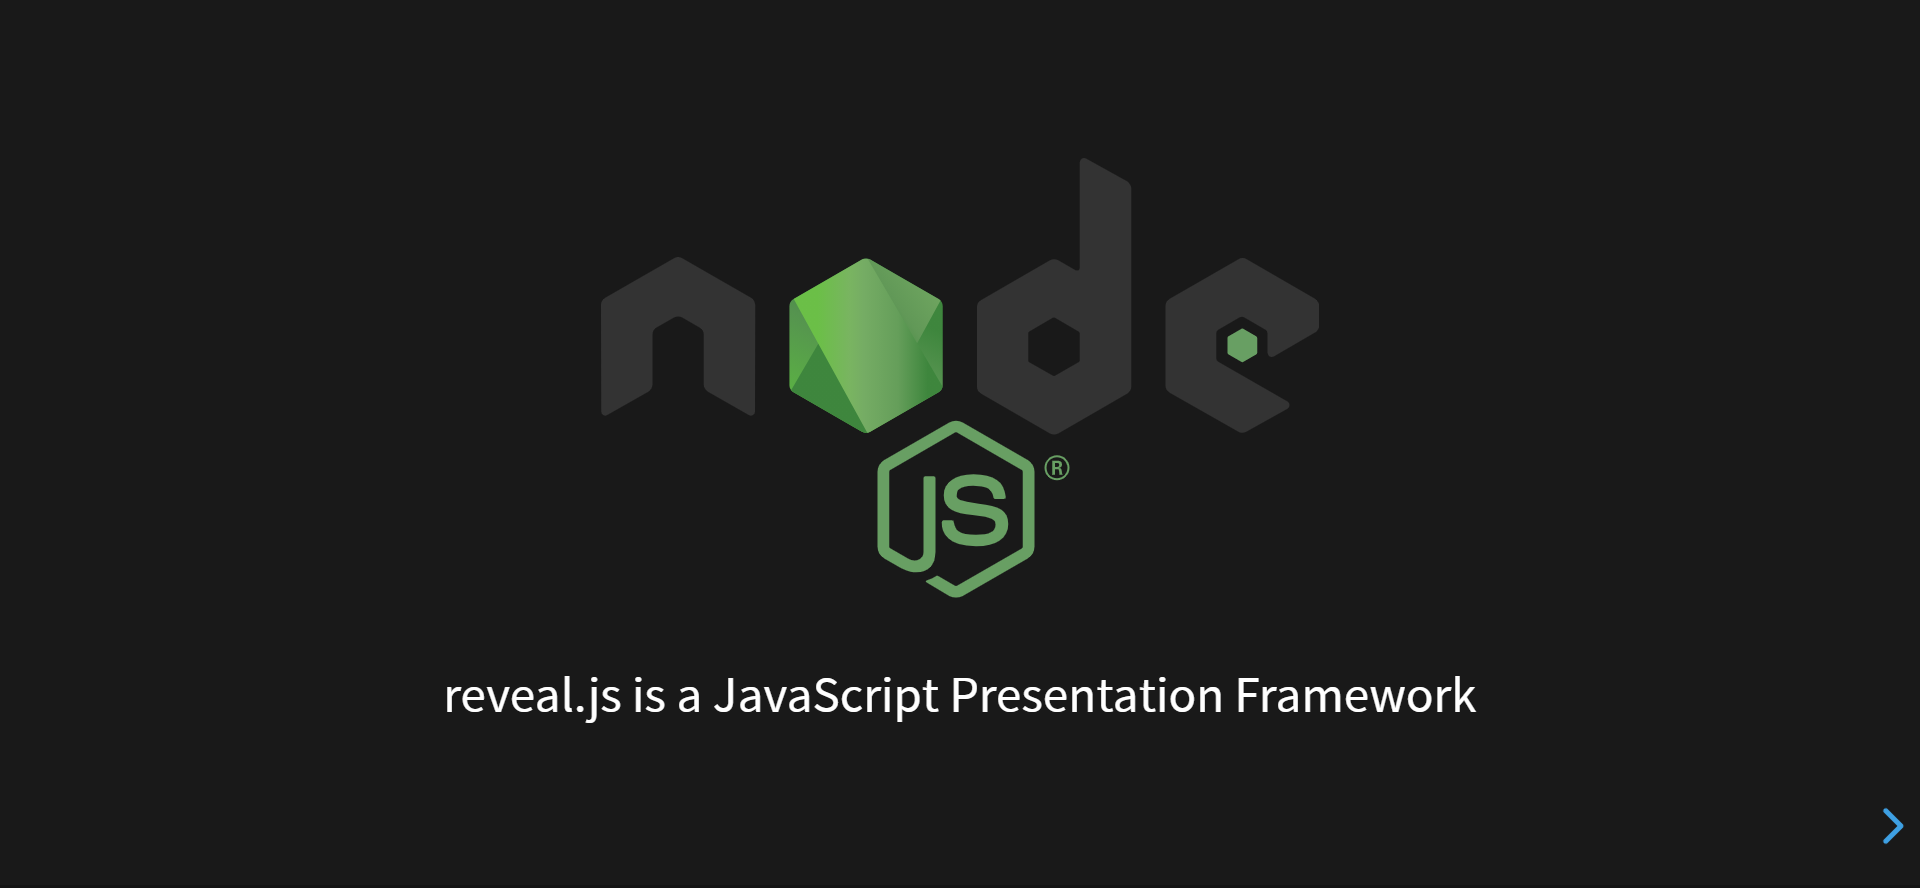
右下角箭頭代表可以向右翻頁。
reveal.js 除單純向右翻頁外,也支援向下翻頁,讓使用者能用二維的角度,來聚合他要講的內容。只要在 section 中再加入 section,就有 vertical page 的效果
<section>
  <section>
    <h2>Vertical Slides</h2>
    <p>We can use vertical slides.</p>
    <br />
    <a href="#" class="navigate-down">
      <img class="r-frame" ... alt="Down arrow" />
    </a>
  </section>
  <section>
    <h2>Vertical Slides</h2>
    <p>This is page 2.</p>
    <br />
    <a href="#" class="navigate-up">
      <img class="r-frame" style="... alt="Up arrow" />
    </a>
  </section>
</section>
加入兩頁 vertical page,效果是
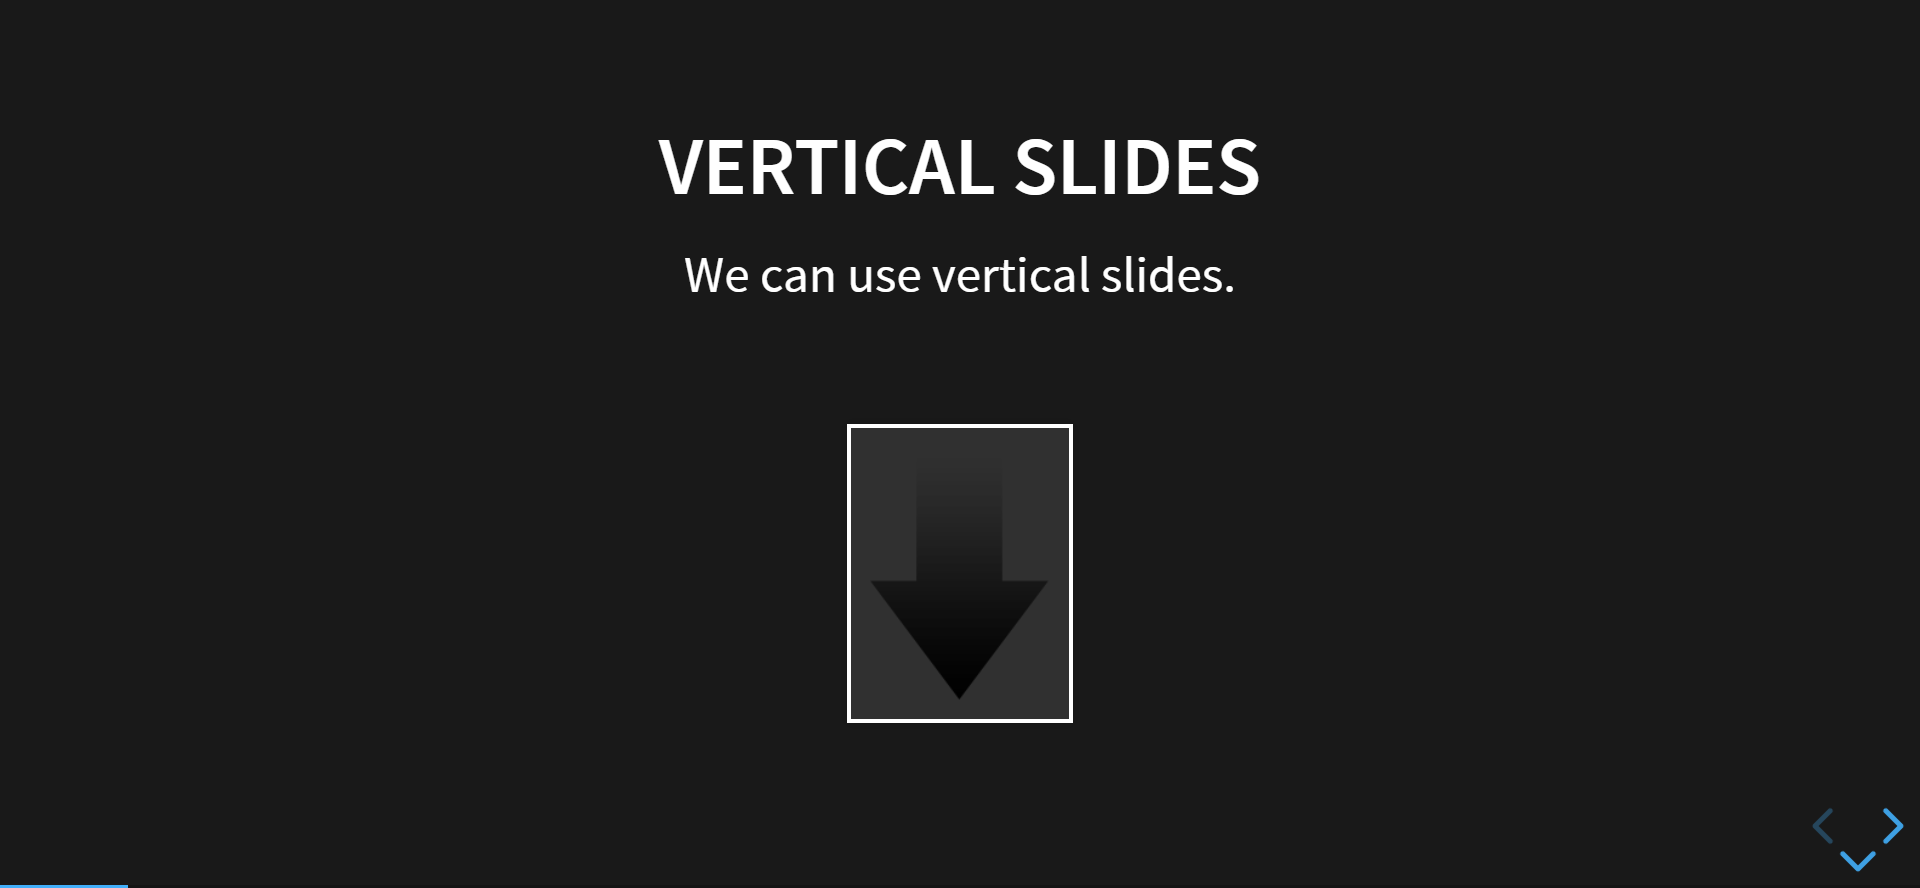
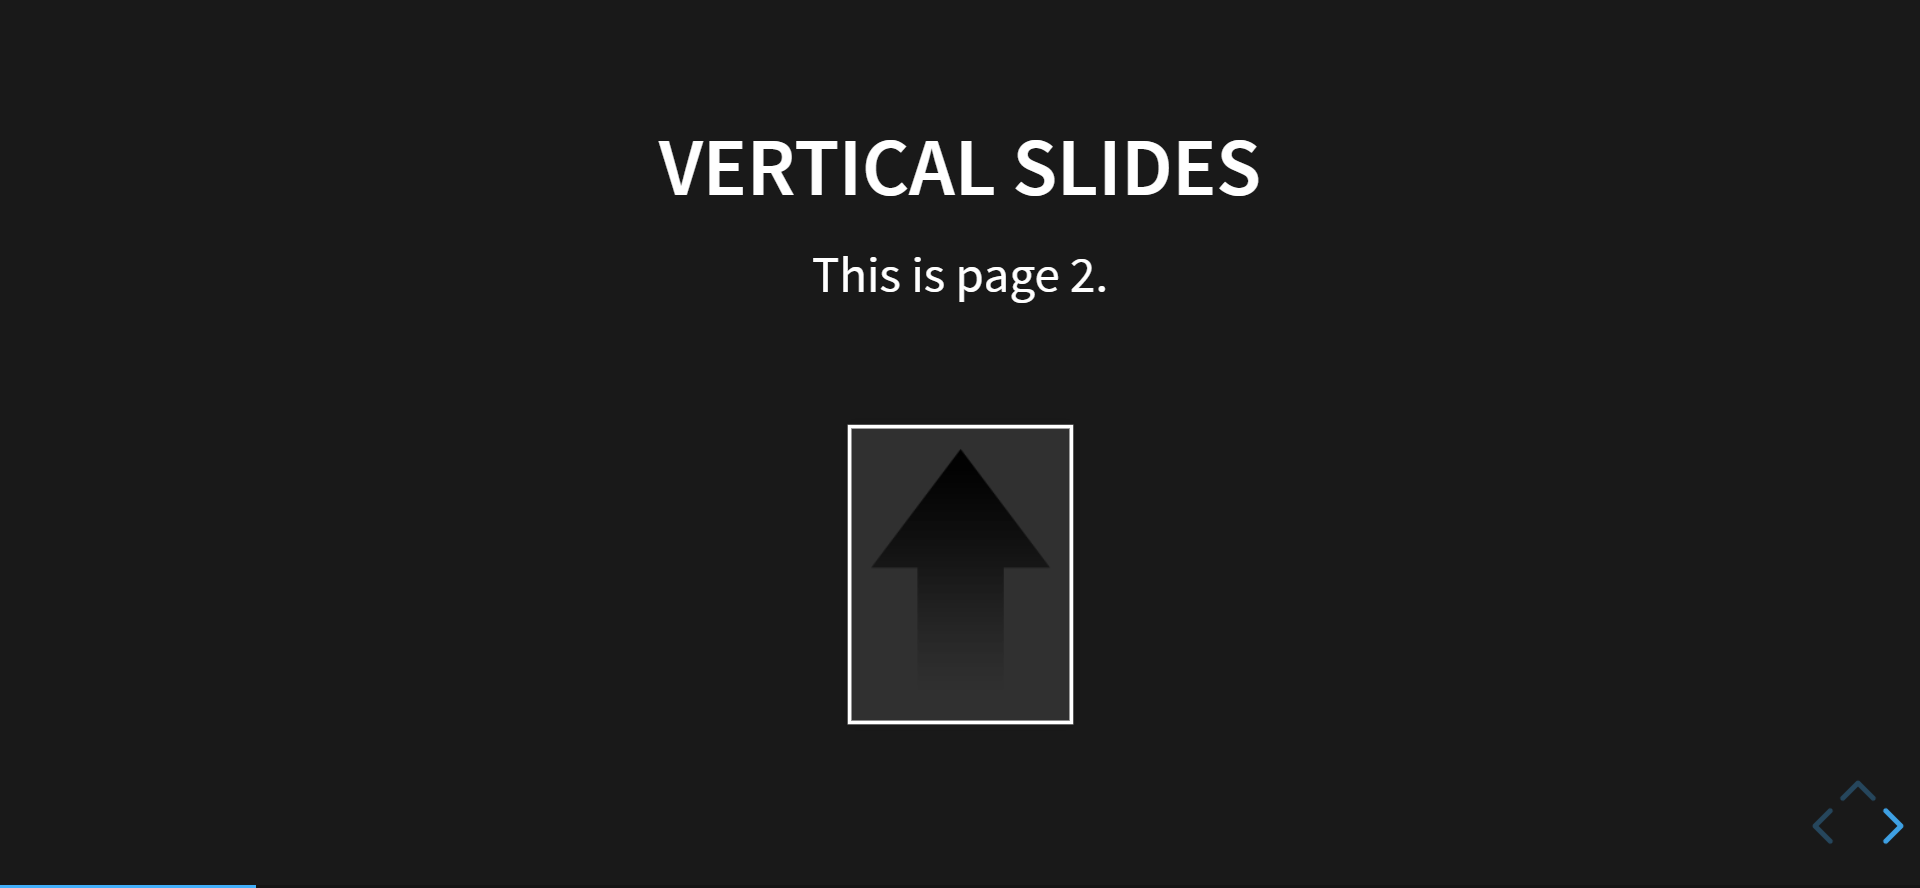
右下角顯示能向上或向下翻頁。
Syntax Highlight and Background
工程師常需要跟他人講解程式碼,因此少不了語法凸顯,reveal.js 支援語法凸顯的寫法是
<section data-auto-animate>
    <h2>Pretty Code</h2>
    <pre><code class="hljs" data-trim data-line-numbers>
      import React, { useState } from 'react';
      function Example() {
        const [count, setCount] = useState(0);
        return (
          ...
        );
      }
    </code></pre>
    <p>Code syntax highlighting courtesy of highlight.js.</p>
</section>
hljs 是跟 Syntax Highlight 相關的 style,data-line-numbers 用於顯示行號。效果是
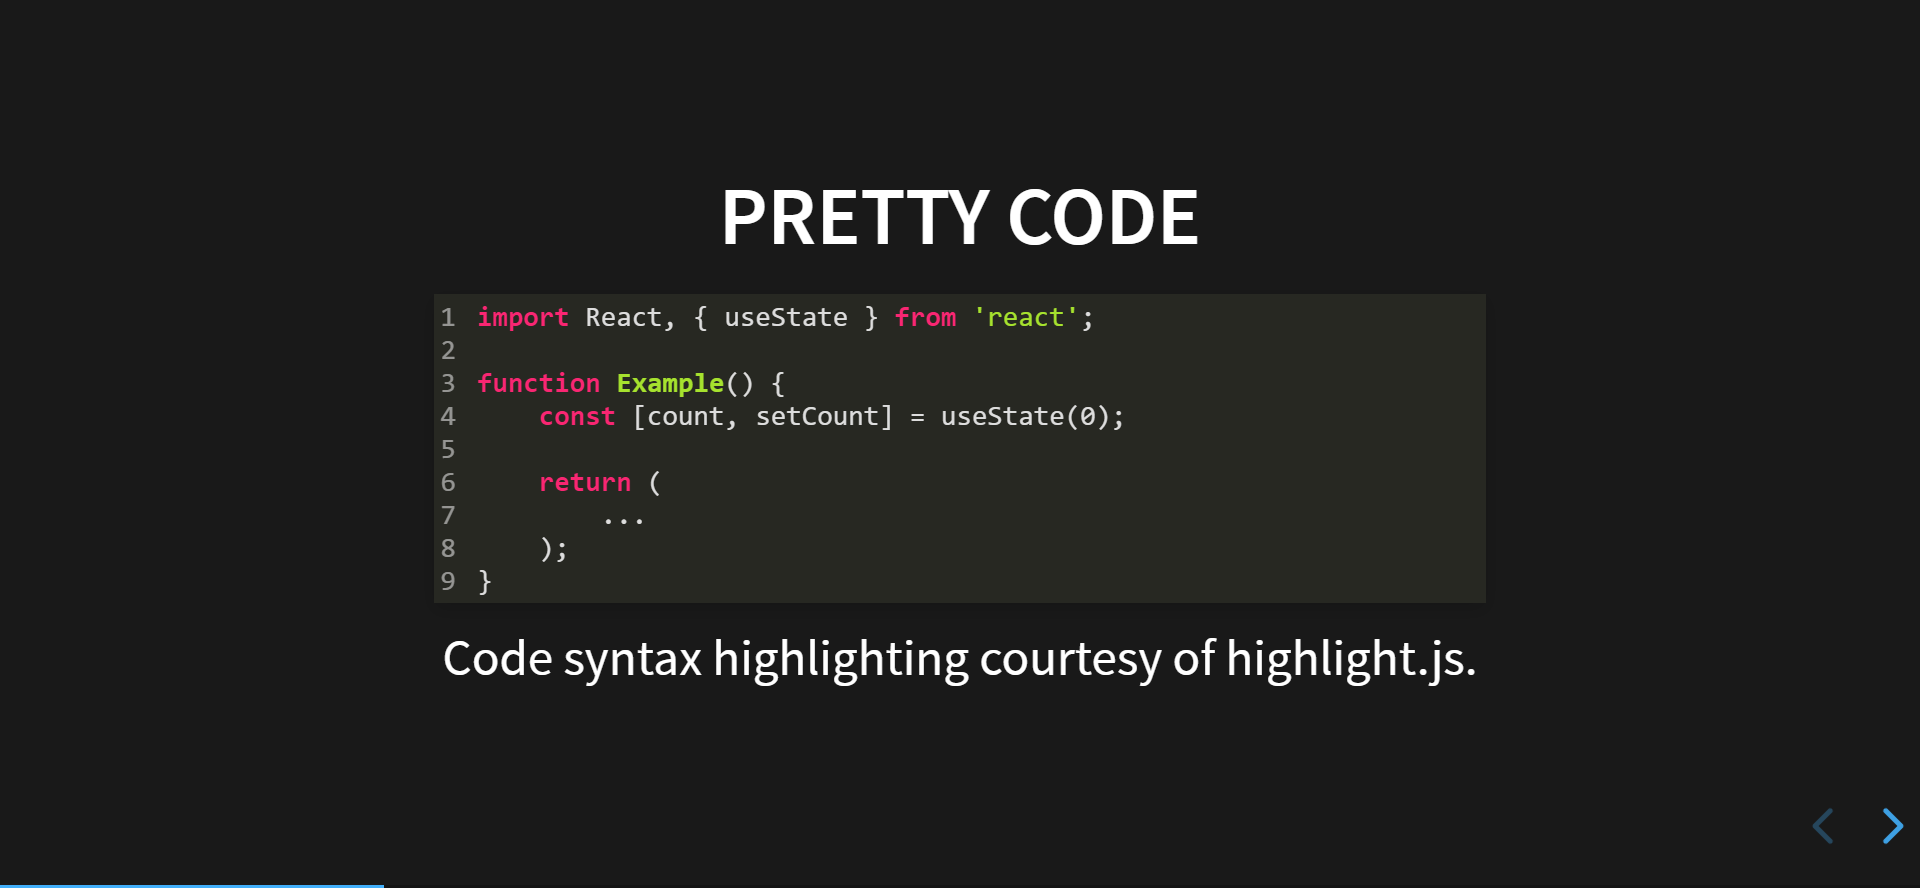
這絕對是 PowerPoint 辦不到的事情。
當然,也可以修改背景
<section data-background="[kazetachinu003.jpg](http://www.ghibli.jp/gallery/kazetachinu003.jpg)">
    <div style="
        background-color: rgba(0, 0, 0, 0.7);
        color: #fff;
        padding: 20px;
    ">
    <h2>Image</h2>
    </div>
</section>
用 data-background 來設定背景,用 div 建立區塊來放置文字,區塊的背景顏色是黑色,透明度 70%。效果是
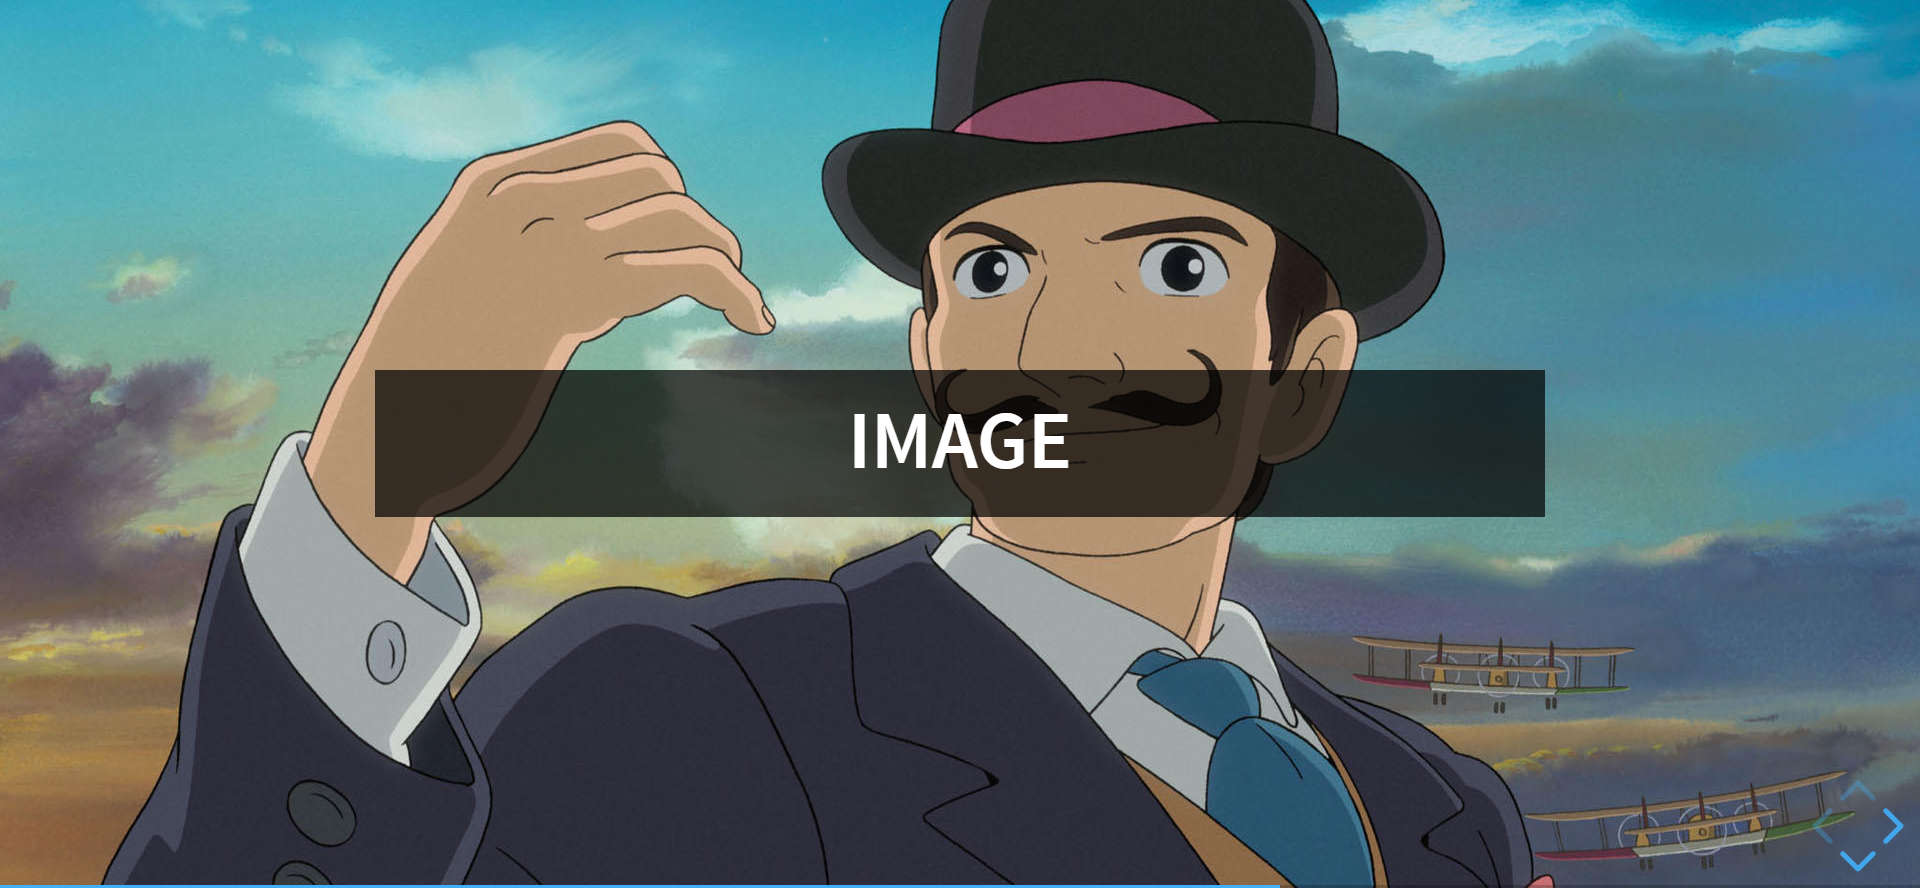
是不是簡單大方!
小結
除前面提到的功能外,reveal.js 還有許多功能,可以自行挖掘。reveal.js 不僅支援 Chrome、Firefox 等主流瀏覽器,還支援 RWD,更可以進行各種細微調整,如果需要特殊動畫,只需要引入相關的 JavaScript 函式庫即可。對開發者來講,它不像 PowerPoint 是面向終端的產品,而是將工具交由開發者,由開發者自行配置需要的效果。
我認為對商務簡報來講,因為有保存與傳播資訊的需求,可能還是要使用 PowerPoint 之類的傳統工具;但在技術簡報的情境裡,reveal.js 等 HTML 簡報框架能賦予開發者更大的自由,具備更好的使用者體驗。